 1. Use a tripod
I cannot stress this enough. A tripod is essential to getting the perfect levitation photos! To get a perfect levitation photo you need to take the photos within the exact same frame every single time. You're going to need a plain background photo without the subject in it and a photo with your subject in the shot. This way you can erase the prop tool they are laying or sitting on and get the levitation effect. 2. Low Angles The lower the angle the better the levitation effect will look. If you are shooting above your subject it will look like they are just laying on the ground or maybe just fell close to the ground. It will look weird and may not even come off as looking like levitation. 3. Make sure no body parts are hidden Whether your subject is sitting or laying down on your prop device always make sure all of their body parts are visible and not hidden behind parts of the crate, stool etc. they are sitting on. Sometimes it is much easier for your subject to wear flowy clothes that can lay over the prop device which also can make it look more natural. 4. Shoot your background image first This is pretty straight forward as this is the only way you can mainly get a levitation photo. You need a blank background photo before you place your subject in the shot that way when you go to Photoshop with both images you can place the blank background photo behind your subject photo and erase out the prop tool and have the blank background pop out underneath. Thus creating the levitation effect.
0 Comments
Sun rays give such an amazing ambiance in photos but sometimes you just need to add your own to give photos a bigger pop. Check out the video below that gives step-by-step easy instructions on how to do so! Hey guys! So today I am here to talk about the difference in editing in Photoshop and Lightroom. Which one is better? Why use one over the other? And which one is easier? No worries I have all the answers…..that I apply to my thought process anyways (lol).
Photoshop This was actually the first platform that I used to edit photos (probably not smart). Actually that is not true, I used to use PicMonkey religiously in my teenage years since I had no idea what Adobe Suite Programs even were (lowers head). BUT, once I got to college and I had a major that offered those programs for free to use at any time I started to dabble. Photoshop was the first one I heard everyone talking about so I delved (tried to anyways) into that program first. I am not going to lie it is definitely something that you have to work at to even begin to know how to use it. Thankfully I had professors and older classmates that could help me with simple questions like, “How do I get this wording to have fuzzy edges?” aka a gassier blur as I now know what that is called today. It is something you want to do trial runs with A LOT. I watched a lot of YouTube videos to figure out how certain things worked and googled why things weren’t working. Photoshop has a science to it. You have to make new layers for ever new aspect you want to change to your photo and then you have to know what layers need to go on top of which other layers. I am not trying to confuse you and that is when it can start to get pretty detailed, but that is the science behind Photoshop, lots of layers and small adjustments hidden in drop-down tabs and so on. Overall, it is nothing to be afraid of, just know that it will take time, it will be frustrating at times, but you can do some AMAZING things with Photoshop that you could never achieve in Lightroom. Lightroom This is specifically made for editing photos so I do not know why I never tried this program until a year or two ago. Yes, I am actually still getting used to it to be honest. You can use the free presets already given to you on Lightroom or you can purchase them from sites like Sleeklens (that’s where I got mine from). A preset is basically a filter and there are tons of them. Lightroom is much more easy to navigate and everything you need to edit your photos is right in front of you. Lightroom can be used by any beginner and it should not be too confusing or frustrating like Photoshop can be. I don’t have anything bad to say about Lightroom at all! I have edited some beautiful photos using just Lightroom. In fact, I have completely shied away from using Photoshop to edit my photos and I have strictly stuck to Lightroom simply because there are much less steps involved in Lightroom than in Photoshop. To get a filter effect in Photoshop I sometimes have to mess around with a couple different layers until I get the desired effect whereas in Lightroom, it already has preset filters for you! And you can just go ahead and buy more whenever you want. Overall Lightroom and Photoshop for sure are both important in their respects, but if I had to choose one for photo editing, I would suggest Lightroom especially for beginners. I hope you guys enjoyed this and let me know if you have any other questions or comments down below! Lightroom can definitely be a program that takes awhile to get the hang of. There are so many different presets and filters and then you have to learn what color adjustments go good along with each of those presets and so on and so forth. But below I have provided a simple warm edit in Lightroom for you guys! I am by no means a professional at Lightroom (I am definitely still in the learning stages of using the program) but I know some basic knowledge to get a good enough edit done :) I hope you enjoy and let me know if you like it down in the comments! https://sleeklens.com/product/wedding-lightroom-presets/ 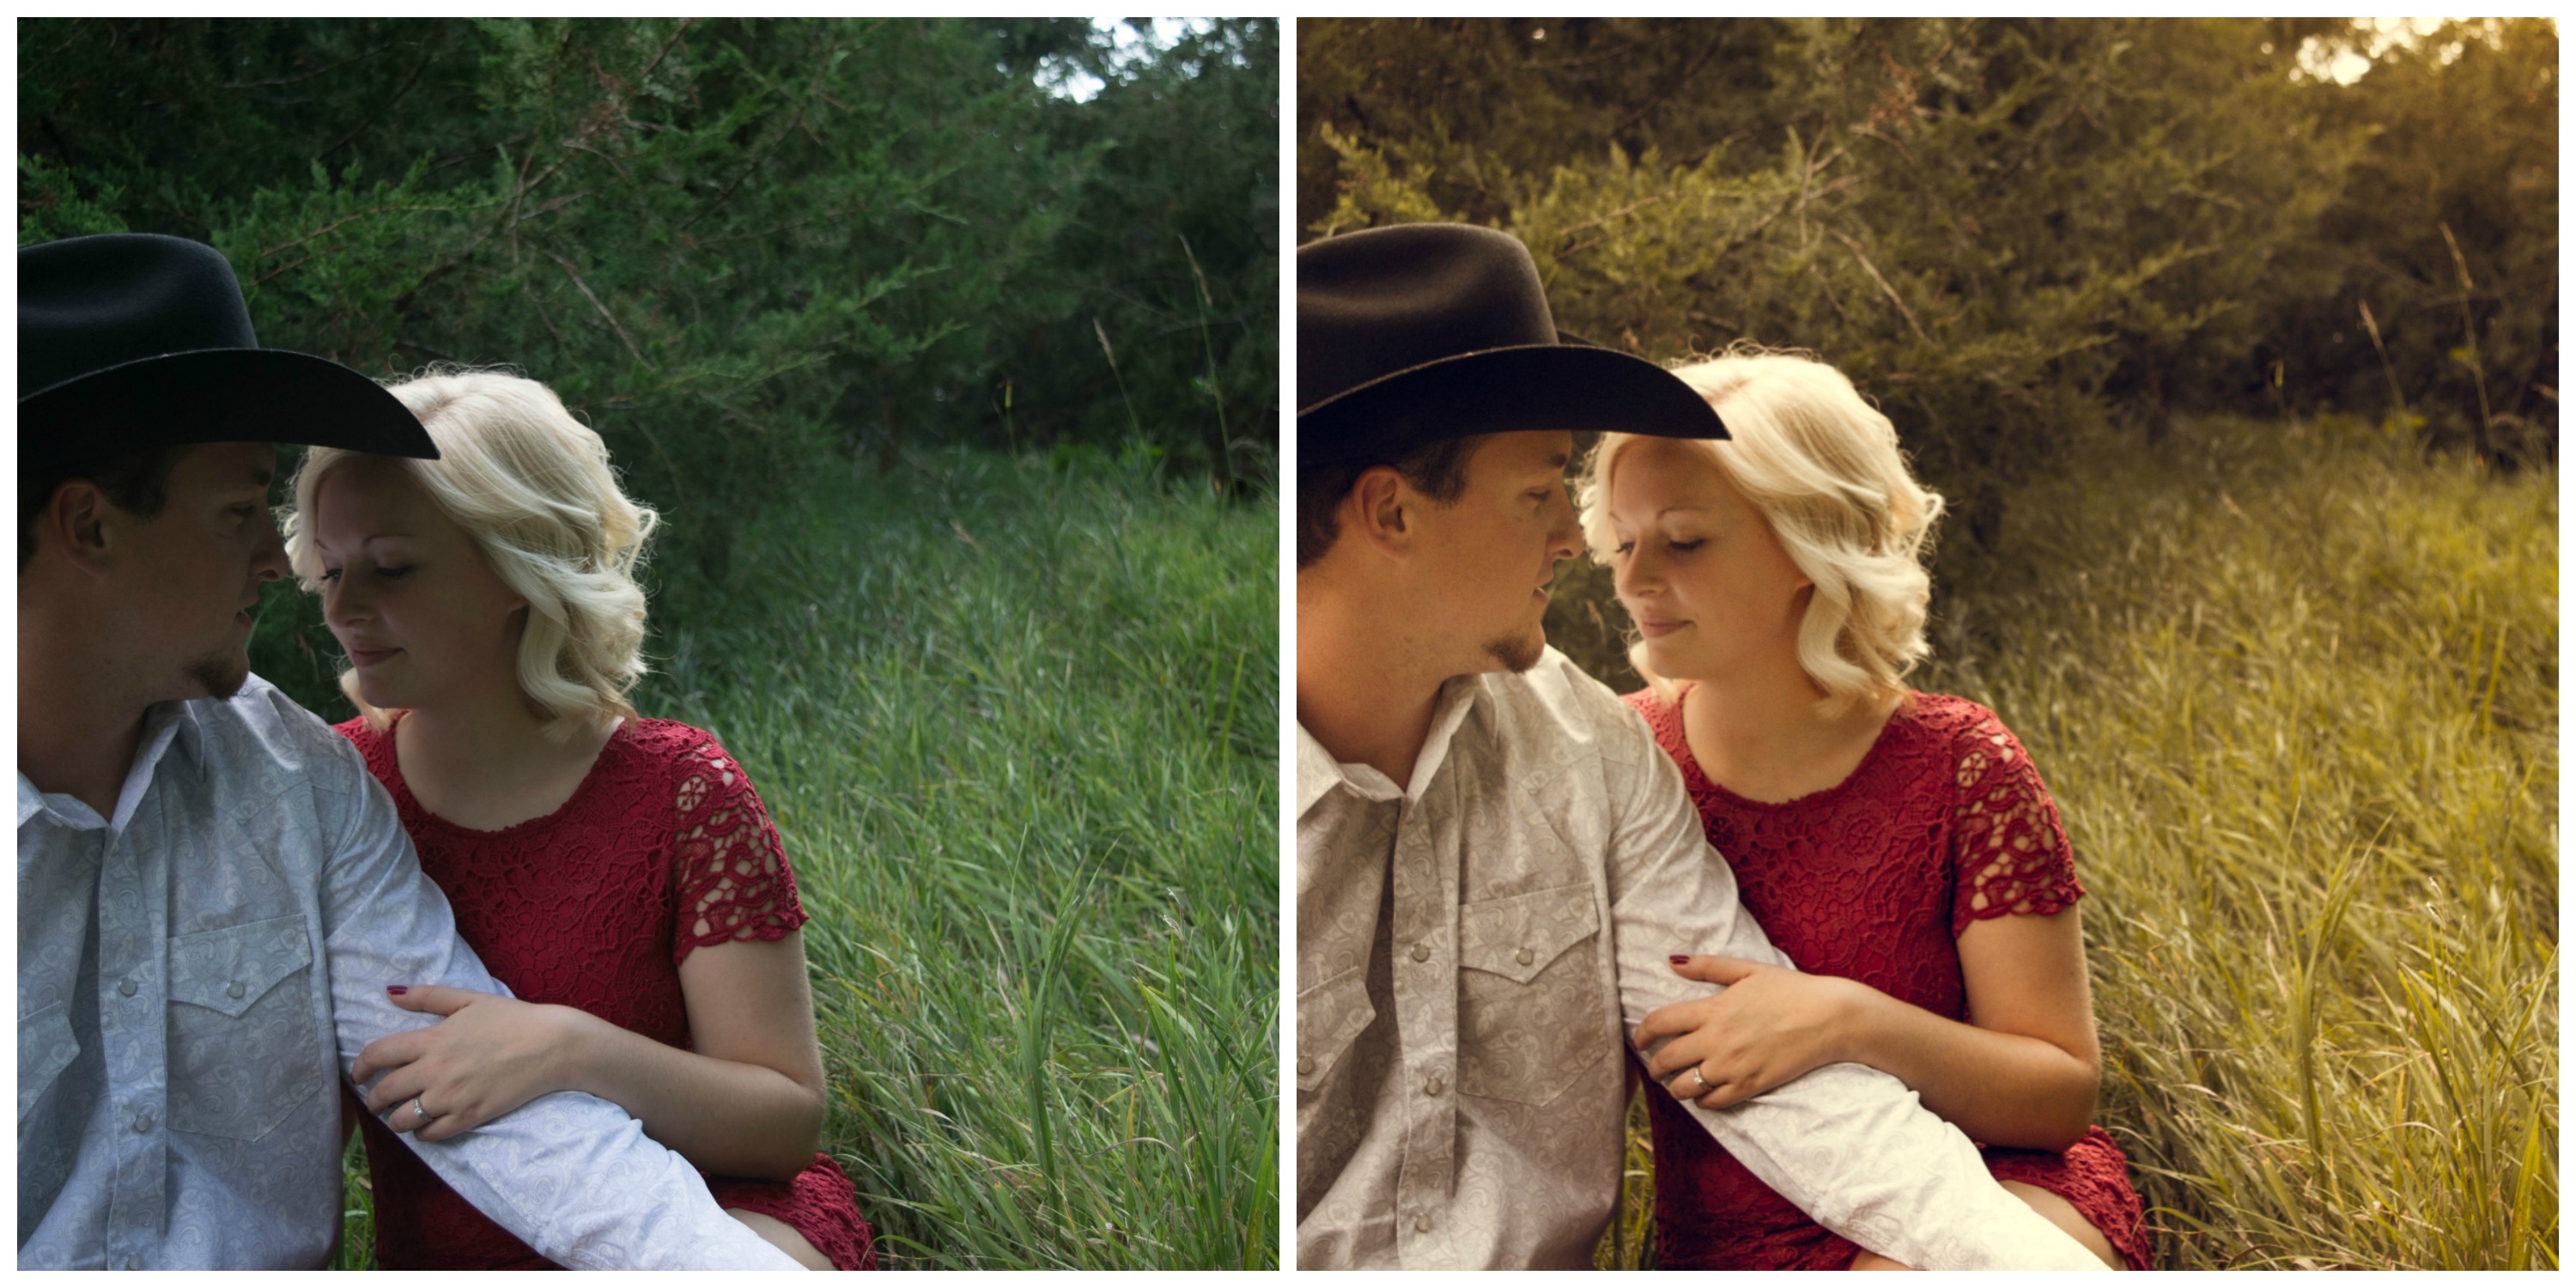 Use the Sky If you have a beautiful sky, take advantage of it. Have it take up 1/2 of your sky if not 2/3 of your frame. Wide angle will give the sky a large depth. Of course, still have an interesting foreground down below whether it be mountains, a lake, a city or a river...you name it. 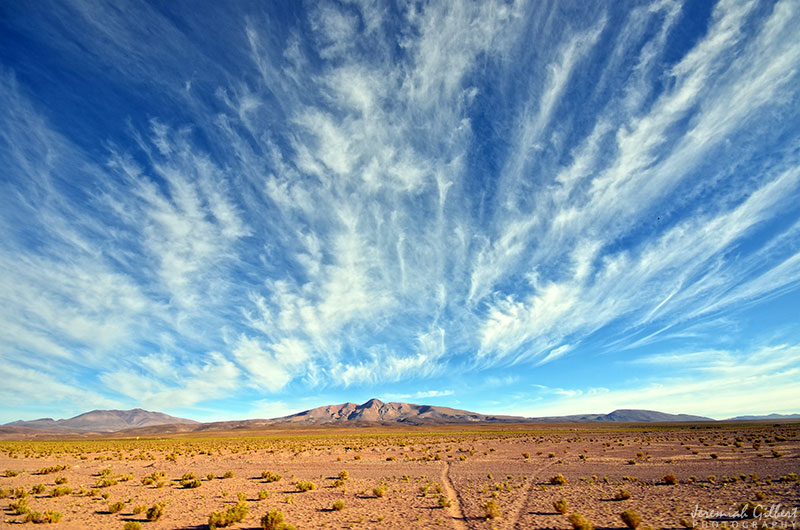 Use Leading Lines Since a wide angle lens captures so much in one frame, it is important to have some sort of direction towards your subject. Train yourself to look for lines leading to your subject and capture those. The lines will be accentuated by the wide angle and can help make your photos more dramatic. 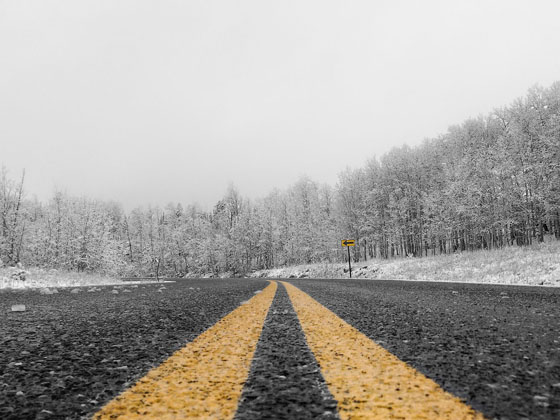 People in Corners Avoid capturing people in the corners or along the edges of your shot. Since wide angles distort, it will make a person look much shorter than they are and also make them look squatty and wider. That is never a good look on anyone. 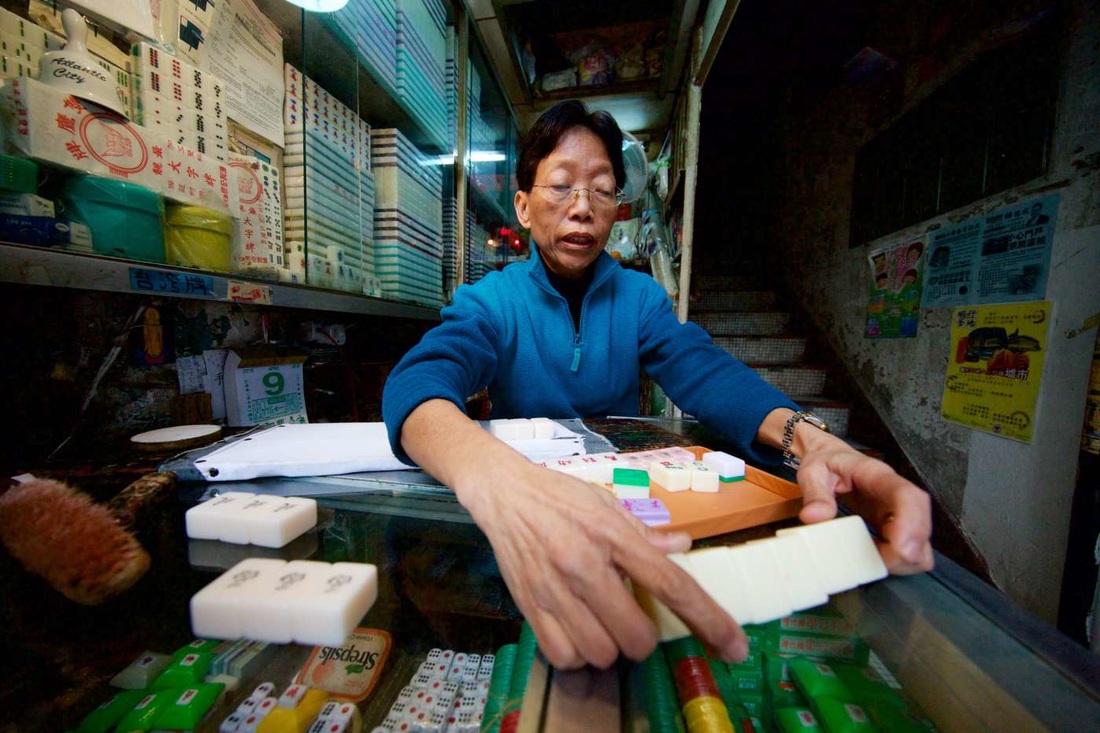 Keep Level When you want to get a perfect wide angle shot with minimal looks of distortion, make sure to keep your camera level with your subject. If you tilt your camera up or down in the slightest, it will distort your images especially along the edges. 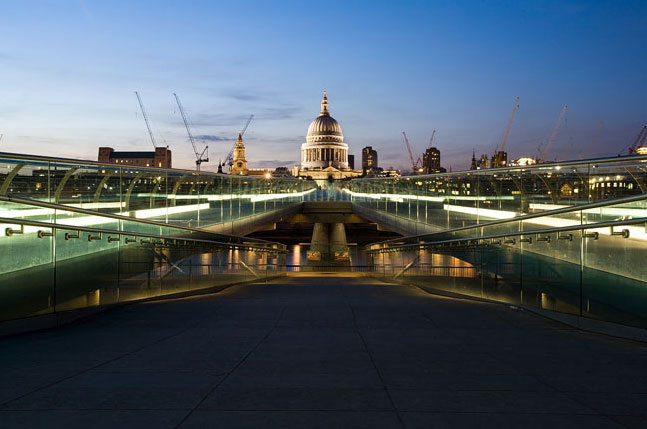 There you have it! If you have any other tips or tricks let me know below with a comment, or get in touch with me on my tab above!
Camera Settings This is what people always want to know right off the bat. Backlit photos are obviously best taken in the morning or early evening to get that "golden hour". So the general settings that I always start out with are an ISO of 400, aperture of F3.5 and a shutter speed of 1/640. Of course this can differ from camera to camera and what time of day it is. And as you know, I ALWAYS shoot in Manual. Focus on the eyes If you have trouble getting your camera to focus on your subject, use your hand to block out the sun and then focus on your subject again. Once you take your hand away you should be ready to take the shot. Filter out the sun The sun has some pretty powerful rays so filtering it out can help your image come out not looking so overexposed. You can do this by placing your subject in front of some brush sitting down or in front of some trees or anything that would help break apart the sun rays and give it a softer ambiance. Overexpose a Bit Your camera is going to want to automatically underexpose your photos since the sun gives such a bright background. By overexposing your settings a little bit, your subject(s) will be darker and match you backlight better overall. Below are some backlit photos I took of my best friend ~ Shoutout to Natalie~ I did take some with strong rays behind her but I personally as a photographer like that effect. Check em' out and let me know if you have any questions or comments! 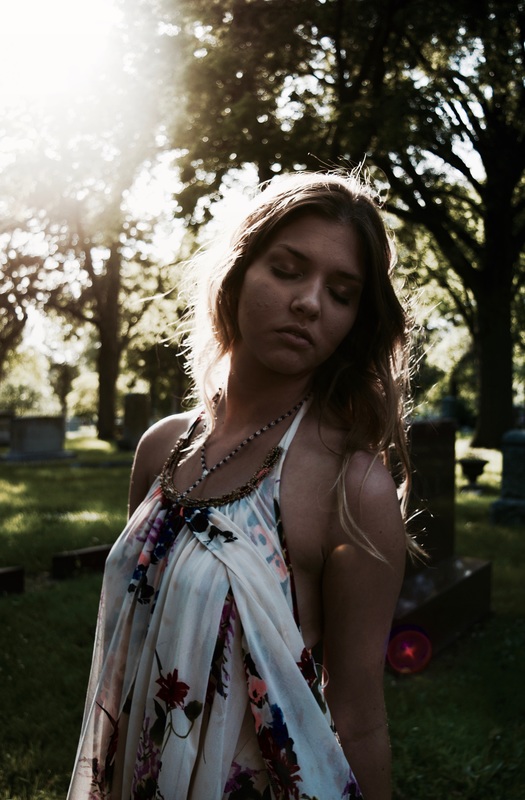 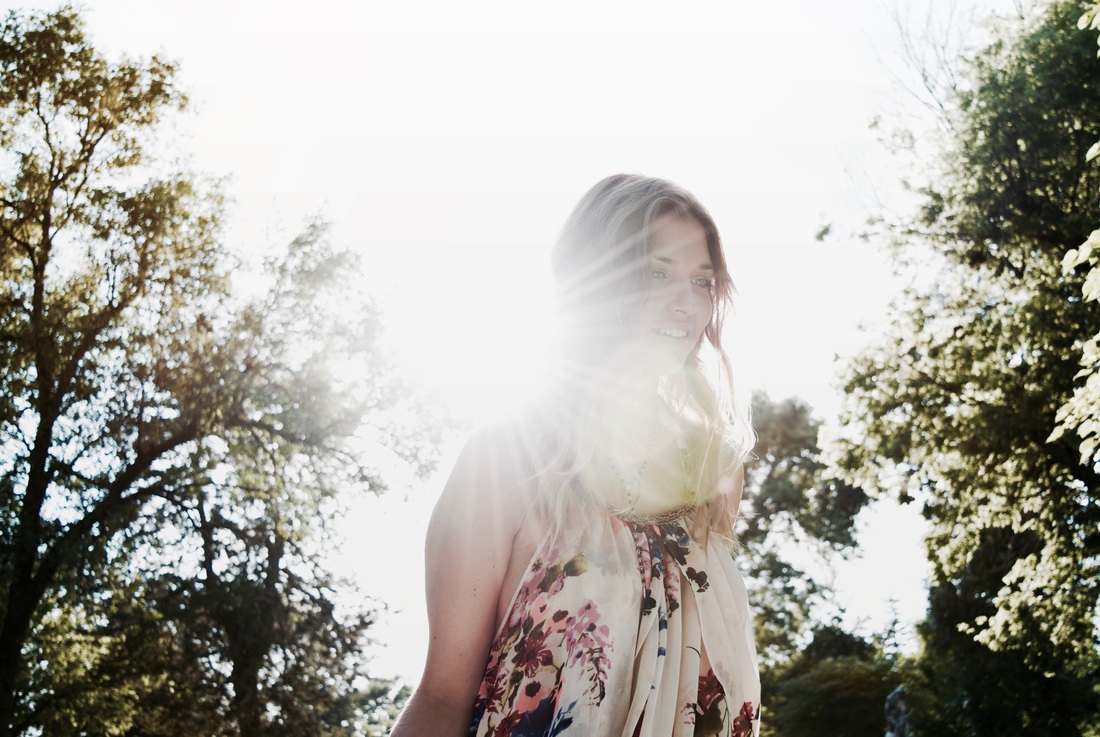 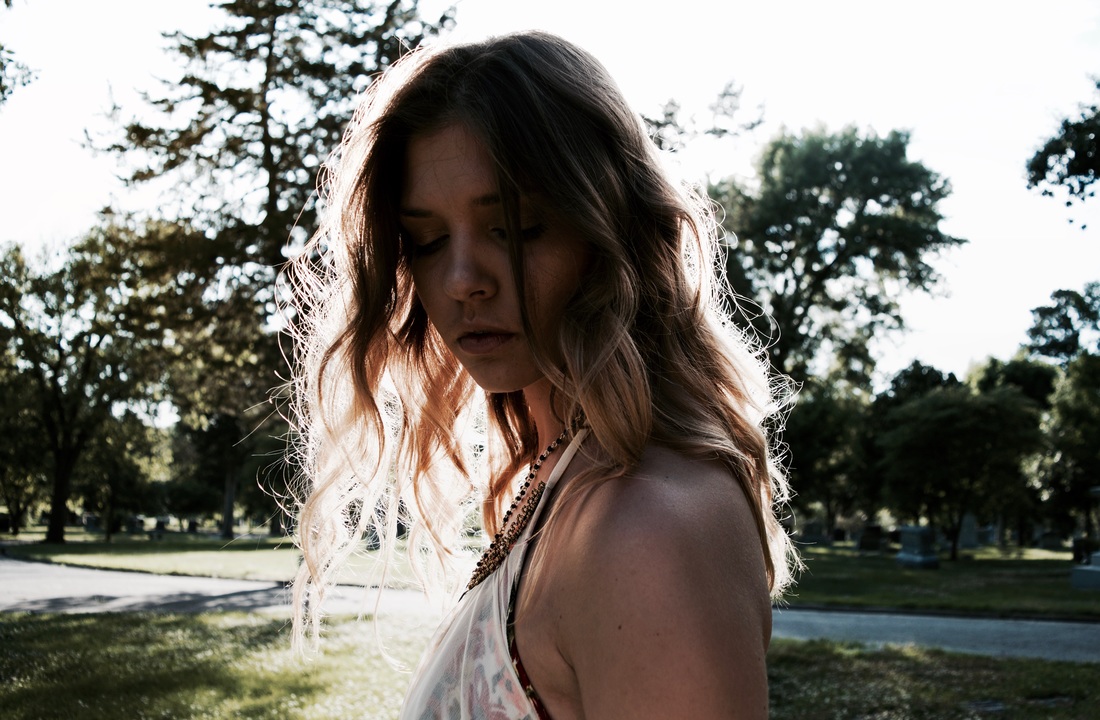 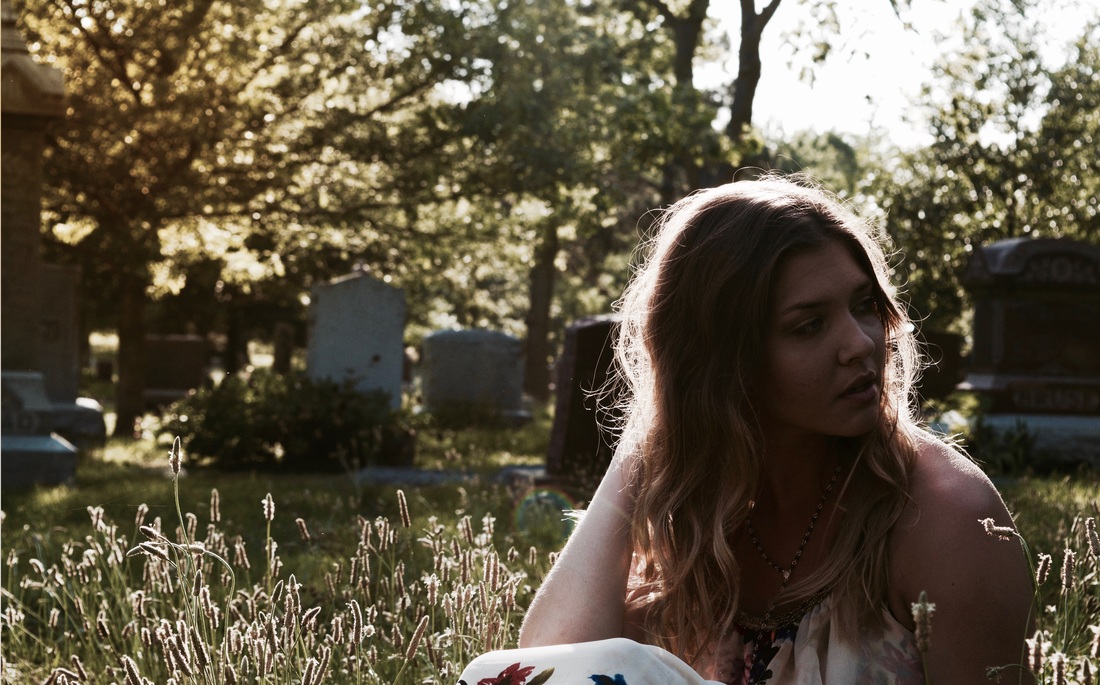 Sometimes when you take your photos they sky is just never that good. There's a simple fix though with a little help from Photoshop and some simple tools within it. So go ahead and watch my video and find out how to successfully replace a sky in a photo! Shooting photos at night is never easy. In fact, they almost never turn out good unless you know what you should be doing. Here are a few quick tips on how to get great night photography!! Keep on reading…
1. Make sure to shoot in RAW Although this may seem trivial it is an important step. You are going to want high quality in your final image and in order to capture minor details in the dark, you’ll have to shoot in RAW. Shooting in this format also allows you to change the color temperature of your photos if you want to whereas in JPEG this isn't possible. 2. Explore new places Find new places in your town or city to explore, you might be pleasantly surprised by what places are around you! Look for heavy trafficked areas where you can get some good light sources -- this will also help your images become a little more crisp with a little more light. This also leads into scouting out your areas ahead of time. Check out the lighting, if there is a lot of traffic and a good place to take shots from. 3. Know Your Camera Settings While you are out running around scoping out your places ahead of time, also snap a couple photos with your camera while you are there. This way you can find your right settings and mess around with your ISO and aperture and see what works well and what does not. This will make it much simpler to know what you want to set your settings to right away when you get to your location instead of taking up a bunch of time and fiddling around with the buttons in the dark not knowing where your settings should be exactly. Save yourself some time and pain! So with this you will want to shoot in Manual (M) mode so you can manipulate all of settings separately. You will want your F-stop between ⅛ down to 1/16 usually for a night shoot. Like I said before, do what works best for your eye and don’t be afraid to play around with it. 4. Auto-Timer Dark images are already hard enough to take in the dark, but adding “shake” to your camera will make the process even harder. Any slight movement that the camera makes can cause the image to become blurry just from the pressure your finger makes when you press the shutter button. Instead, use the auto-timer on your camera! That way you won’t have to press the button and your photos will come out blur-free and crisper than ever! I hope these tips help you get started for your nighttime photoshoots! If you have any questions or comments please leave them down below and I’d be happy to get back to you! There's nothing wrong with wanting whiter teeth, but editing them can be hard and can end up looking a little unnatural at times. So I've compiled a video below on how to edit teeth in photoshop and still have it come out natural-looking. And a plus is that it's a simple process once you've done it a couple times, and then it is breeze! So check out my video and let me know if you have any questions or comments! When you’re going into a photoshoot I know it is easy to get trigger-happy and you just want to start taking photos as soon as you can, but you have to remember a number of things before you do. One of those is knowing what format you are shooting in. Are you shooting in JPEG or RAW?
Now there are advantages and disadvantages to both. Advantages of shooting in RAW are that the image quality of the photo is much better and it allows you to edit more details in your photo and not lose any info in your photo whereas you would in a JPEG format. JPEG’s advantage is that it pretty much allows you to store more on your SD card whereas RAW images are considerably larger than JPEG files (about 2-3 times larger), but you get what you pay for in terms of quality when you shoot in RAW vs. JPEG. RAW images collect all of the information that your camera’s sensor detects in the photo frame and stores all of it. When you are shooting in JPEG the image information is lost because it is being compressed. That’s why it is easier to edit in RAW than JPEG. It allows you to edit all of the small details that are collected in your RAW image whereas in a JPEG photo, you are unable to edit those small, minor details that you want to. If you are looking to get crystal clear photos that you will be able to fine tune in editing, I would shoot in RAW. It WILL take up more room on your memory card that is for sure, but the pictures will turn out much better, so really the only downfall is that you would have to get a bigger memory card, and no can complain about having more storage on their SD card am I right? So pitch in a couple more ten dollar bills and buy that 64GB card or even a 128GB SD card would do the job, especially if you are traveling and you take photos every time you turn around. So do yourself a favor as a photographer and shoot your photos in RAW, because you owe it to yourself or your clients to create the most beautiful images you possibly can. |
